1. Adding your Email Adress
The first step is to go to the “Settings” page, where you’ll find the option to add your sender email address.
We strongly recommend using a professional email address. It’s not just about appearances; it ensures your emails are more likely to land in your recipients’ inboxes. 🚨
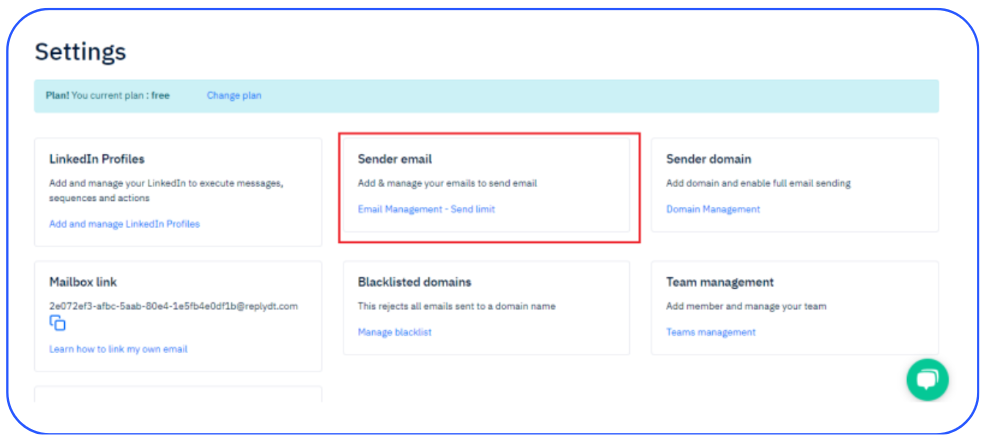
Please keep in mind that each sender has a daily sending limit of 500 emails. So, add senders based on how many emails you plan to send each day. This helps you stay within your limits and maintain a good sending reputation.
After adding your sender email address, you’ll notice that it’s marked as “Pending” This status indicates that you’re on the right track, but there are a few more important steps to complete before your email address is fully valid.
Let’s proceed to the next step to get it fully verified and ready for use. 👇
2. Domain Management
After you’ve added your email address, the next essential step is to include the domain name associated with your email. To do this, click on “Domain Name” and then hit the “Add” button.
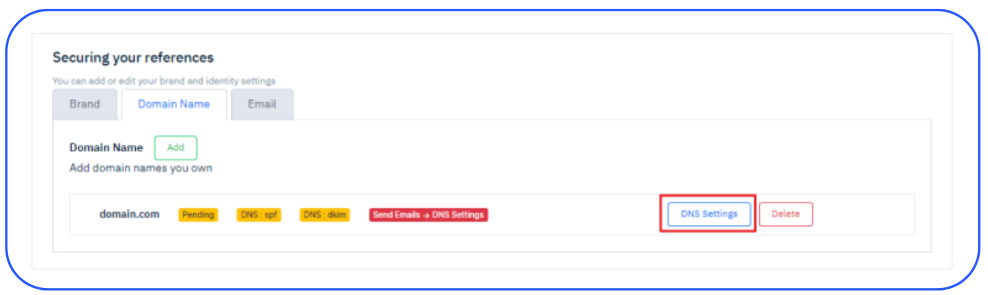
Following this, you’ll need to enter your DNS (Domain Name System) settings as required. These settings are crucial to ensure that your emails are properly authenticated and delivered. Once you’ve entered the DNS settings, click on “Check DNS” to verify and confirm that everything is set up correctly.
Once you’ve successfully checked the DNS settings, all the email addresses that were previously marked as ‘Pending’ will automatically be validated and ready for use.
By following these steps, you’ll have your sender information configured and ready to roll. This not only simplifies the email-sending process but also enhances the deliverability and professionalism of your communication.
If you have any questions or need further assistance, don’t hesitate to reach out to our support team. We’re here to help you every step of the way. 🚀