Import your contacts 🎯
In SalesConnect, we’ve made it simple to import your contacts using a CSV file filled with the prospects you want to add to a list. Once imported, these prospects are as accessible as any other classic search. In this guide, we’ll show you how to execute a smooth file import in SalesConnect. 😄
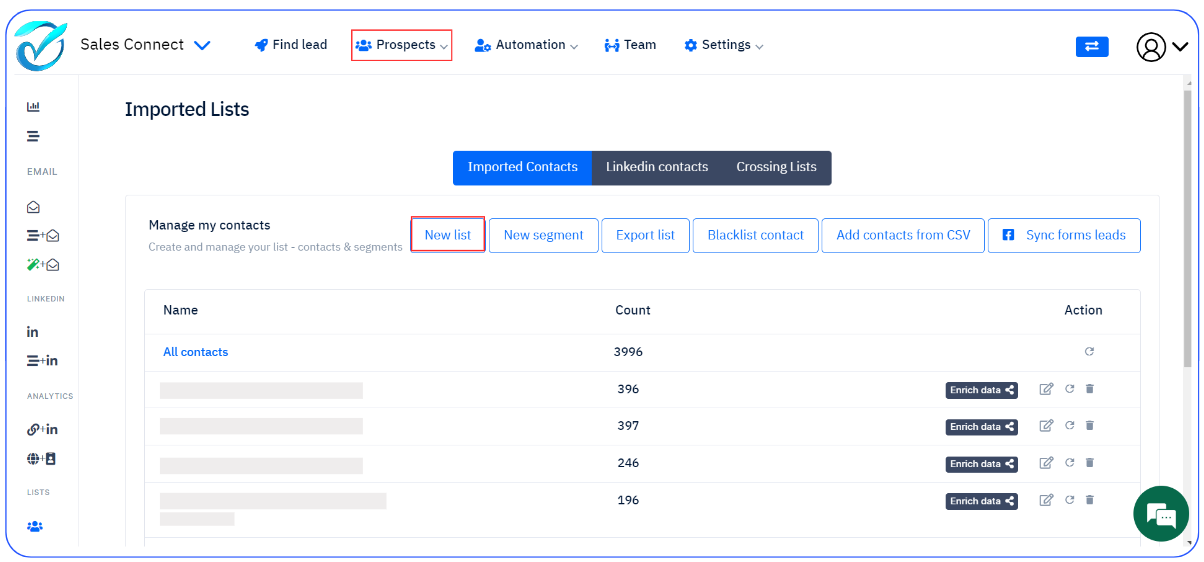
Step 1: Create a List
Before diving into the CSV import process, the first thing to do is to create a list that will house the prospects you’re about to import. Choose a name that makes it easy to connect with your CSV prospects, a label that rings a bell. 😉
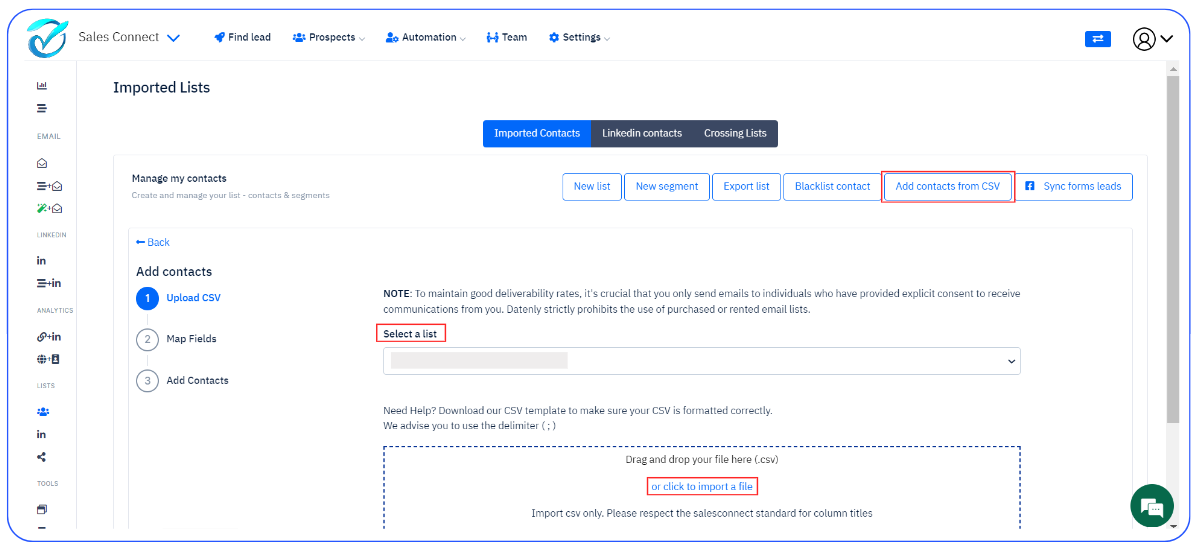
Step 2: Import your Contacts from CSV
When your CSV file is prepared, click on the “Add Contacts from CSV” button. Select the list you’ve created to be the destination for these prospects. Then, import your CSV file and click ‘continue‘ to proceed. 👇
Step 3: Mapping Fields
The field mapping step is where you’ll align the columns in your CSV with the specific fields of your CSV.
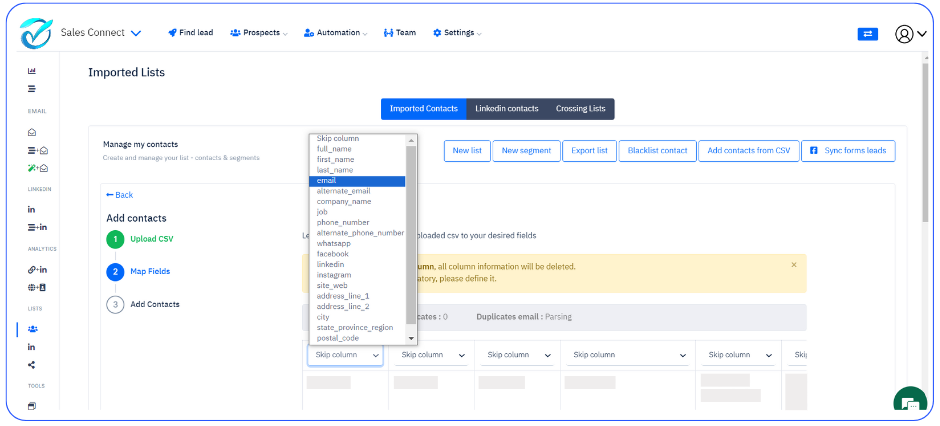
Note 💡
If you choose to ‘Skip’ a column, all information within that column will be deleted. Make sure to designate the email field as mandatory to ensure smooth operations.
As you map each column, specify whether it corresponds to first name, last name, country, or any other relevant field.
No need to fret about duplicates; SalesConnect takes care of that for you. 😉
By following these steps, you can now easily import your contacts and prospects from your CSV file into your SalesConnect lists.
If you have any questions or need assistance, our support team is always ready to help. Enjoy your importing and connecting with your prospects! ❤️